
|
| >Trillogy Dinghy Lift >How to Install >Parts List |
|
Installation
of Trillogy Boat Lift
|
|
This
information is only designed to serve as an overview of how an installation
is accomplished, however, complete installation instructions and specifications
are different for some boats. There are 16 steps to the instructions.
|
|
Basic
Lift Installations
|
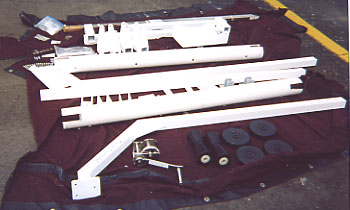
| 1. Open the box and lay out all parts and assemblies |
 |
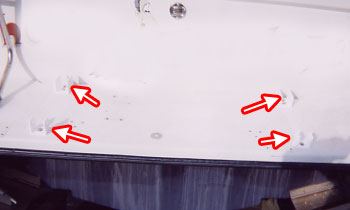
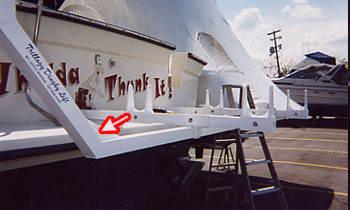
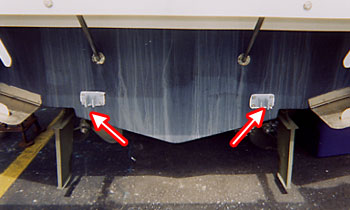
| 2. Mount 4 swim platform brackets |
 |
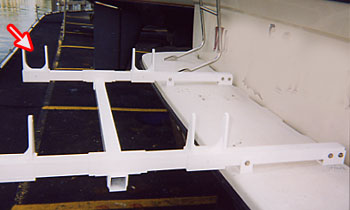
| 3. Install main support arms |
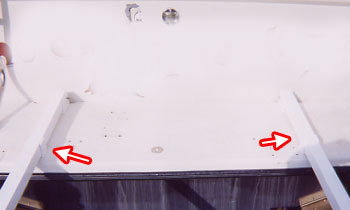 |
| 4. Mains support arms installed |
 |
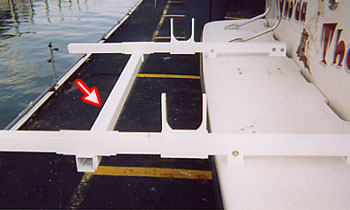
| 5. Slide on 2 inside pontoon sleeve brackets |
 |
| 6. Slide on center sleeve assembly |
 |
| 7. Slide on 2 outside pontoon sleeve brackets |
 |
| 8. Slide the winch arm into center sleeve assembly |
 |
| 9. Slide the pickup roller arm with roller assembly into the other end of the center sleeve bracket. |
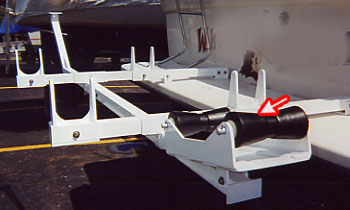 |
| 10. Lay the pontoons inside the pontoon sleeve brackets |
 |
| 11.Using a short block to raise the pontoon, drill and mount on center giving a slight tilt to the pontoons to accommodate the shape of the hull of the boat you will be carrying. |
 |
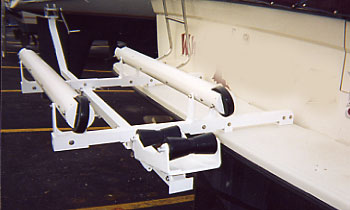
| 12.This is the way the lift should look upon completion for the LD-150 and MD-300. |
 For the MD-450, HD-600 and HD-900 - Add These Additional Instructions: |
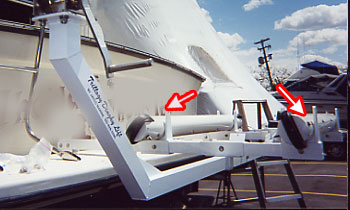
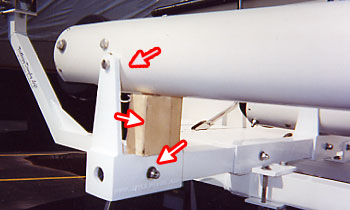
| 13. Clamp the stainless steel brackets to the center sleeve assembly. |
 |
| 14. Mount the stainless steel transom under water brackets as low as possible to the transom |
 |
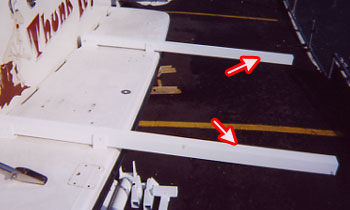
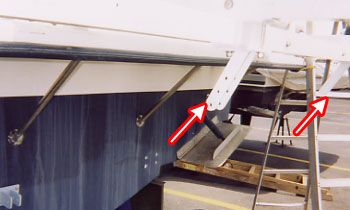
| 15. Install the stainless steel struts |
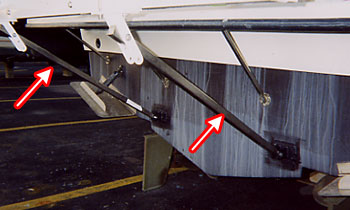 |
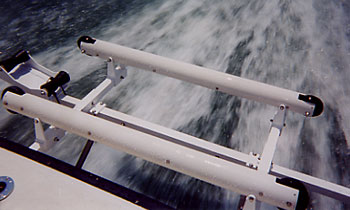
| 16.This is how boat looks when completed with heavy duty lift under way. |
 |
|
|